Creating a Photo Book
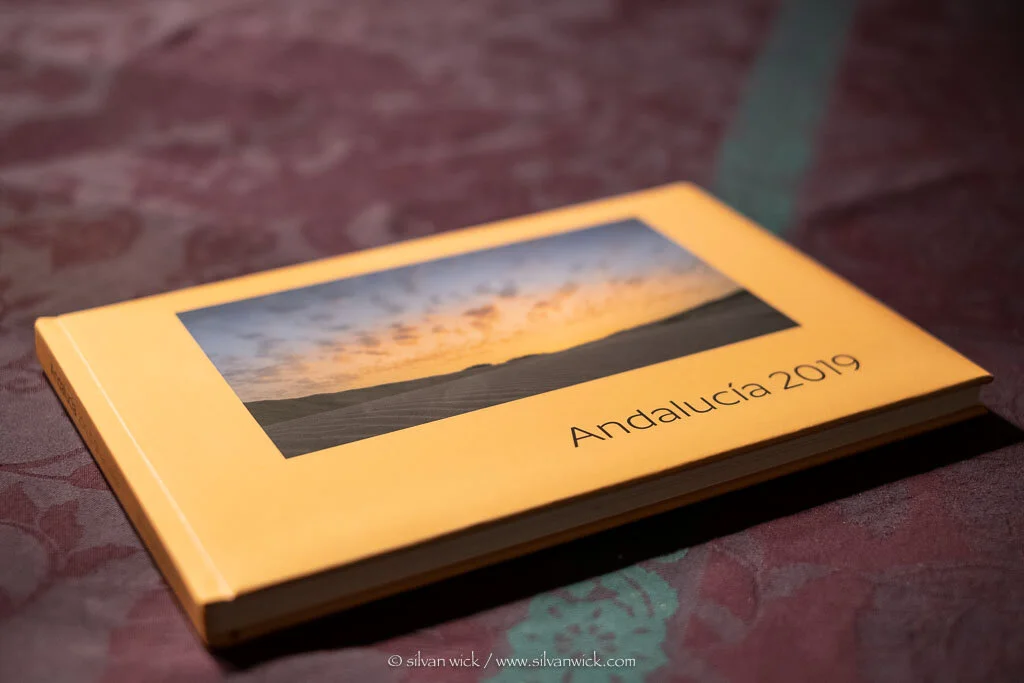
In recent weeks I spent a lot of time creating a photo book. Even prior to a journey to the Andalucia region in Spain I thought about it.
Once I returned I started to look over my options of print services here in Switzerland or in Germany. In the end I selected Saal Digital a print service that offered simple book models as well as more professional, also more expensive options like leather or linen covers or even an Acryl face plate.
Pre Press Prep:
One of the deciding factors to go with this company was the interaction of my existing software, Lightroom and Photoshop and Saal’s own, simply called Saal Design Software. Saal Design Software lets you create the project layout and place your photo files page by page as well as text on individual pages. Clipart is also available, but I did not need it for this project.
Let’s take a step back. I created a collection in Lightroom CC from the various photo files. than I imported an ICC Profile from Saal’s website to soft proof each image I selected. I chose a matt paper. I also had color calibrate my monitor, I use i1Display Pro from X-Rite. Normally I use the following setting:
Luminance 120 cd/qm
Gamma Value of 2.2
Target Illumination of D65 or 6500 Kelvin
To simulate the pre Printing scenario I needed to change the settings to:
Luminance 100 cd/qm
Gamma Value of 2.2
Target Illumination of D50 or 5000 Kelvin
The computer screen now looks slightly darker and colors are warmer.
All of this needs to be done in order to replicate the color and brightness that each pictures appears on paper.
With the soft- proofing option selected in Lightroom in the develop module you can judge the color and by selection the top right icon in the histogram to visualize problem colors and adjust accordingly. Lightroom lets you create soft proof copys of individual files which you can later export to a folder, in my case on my desktop.
The Layout:
From there I imported them into the Saal Design Software. It’s easy you start the software, select the project type. (You can also prep fine art prints, calendars, or even Alu-Dibond or Acryl Prints in the same software.)
Once you selected your project type, the paper you’d like, the cover options and so forth It is fairly easy to create individual pages since you can drag and drop images, use existing layouts or even generate you own. I added a bit of explanatory text and a map graphic to show, where some of the images have been created.
Payment & Upload:
You can save your project as you go along and put it aside, do some other task and come back to it later. In the end you place the order right from the software as you check out. I used my credit card and once the payment was made the software started it’s upload automatically. An email from the vendor tells you minutes later that the upload was successful.
Late fall, early winter is the busiest time of year for these services, despite this I got my first sample book in a week or less.
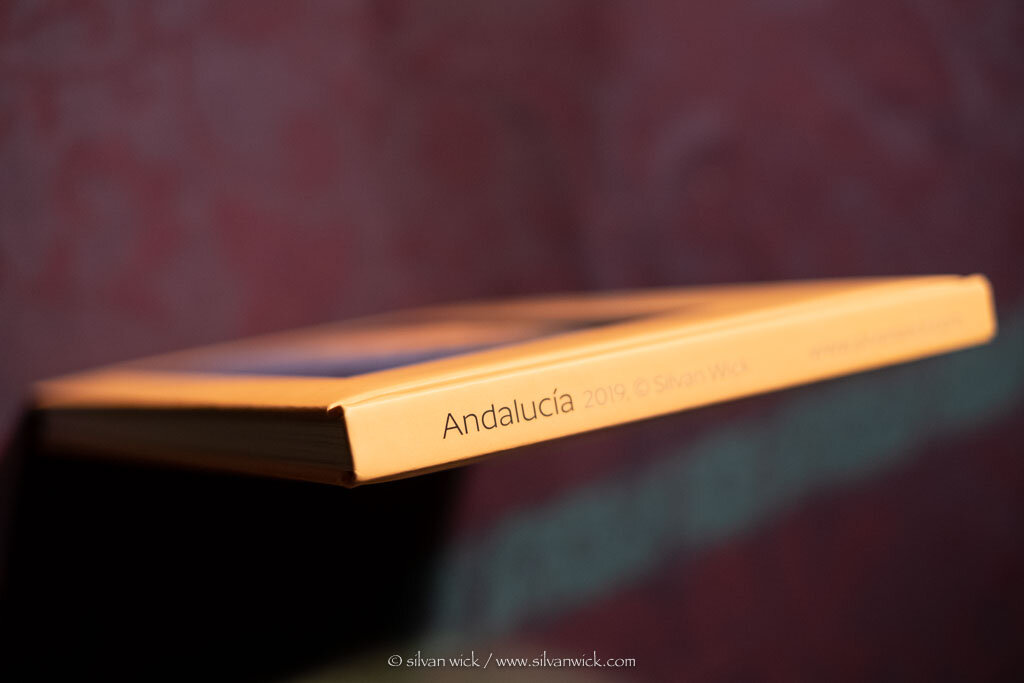
I was quite happy with the results, the colors were accurately represented and not too dark. I made some minor adjustments, lightened up just a few images and exchanged one or two.
I also changed my text to a smaller font size.
O.k., with the updated project I was ready to print 8 books for family and friends: Christmass prints!
My Take:
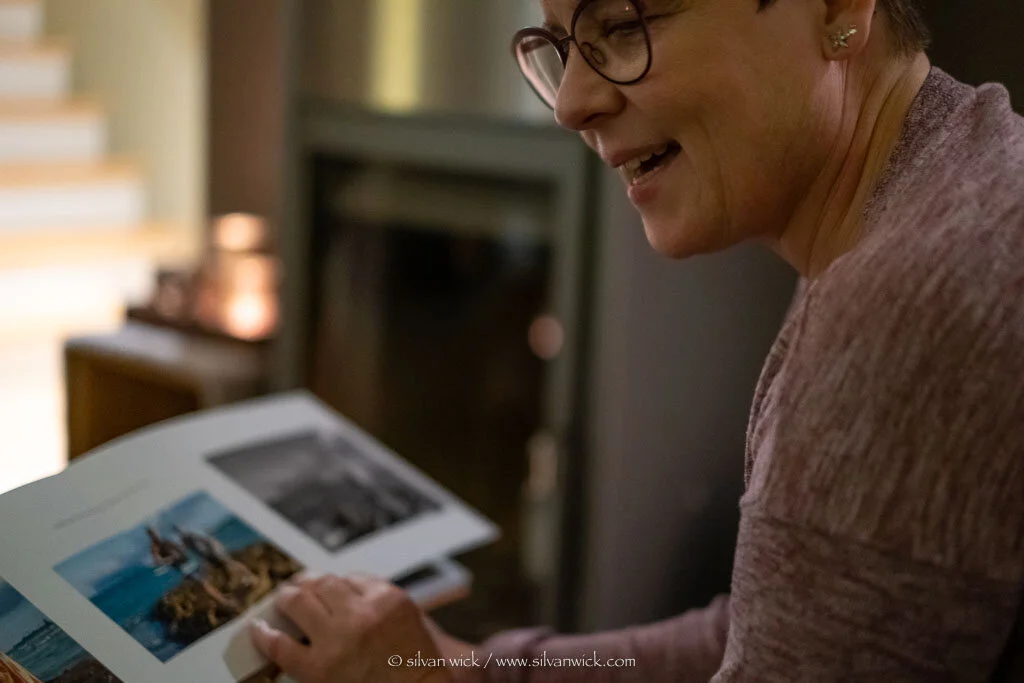
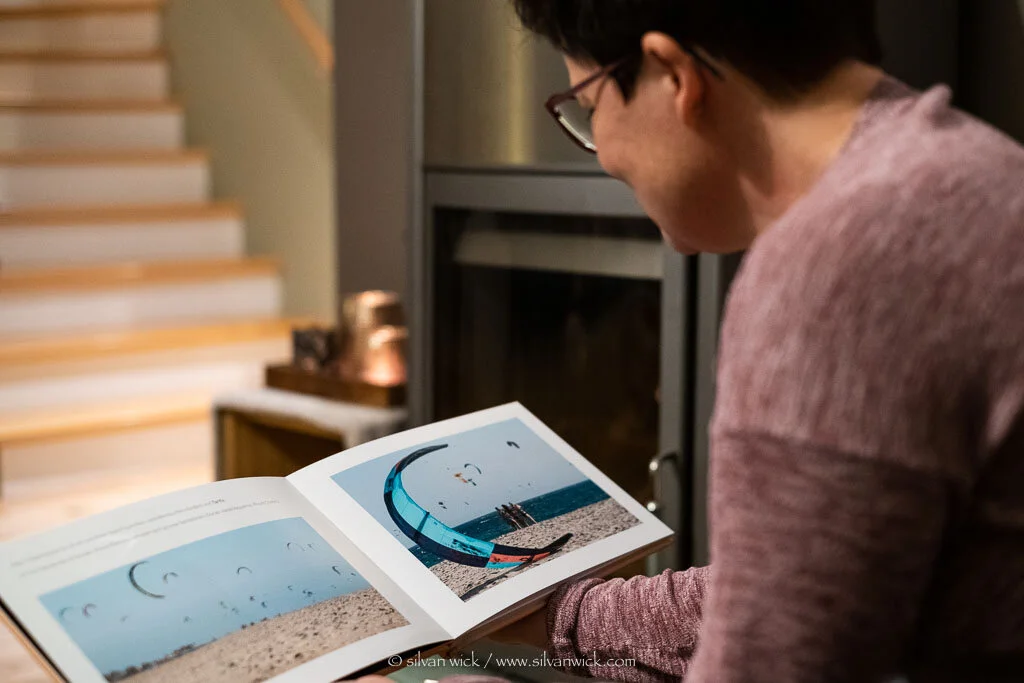
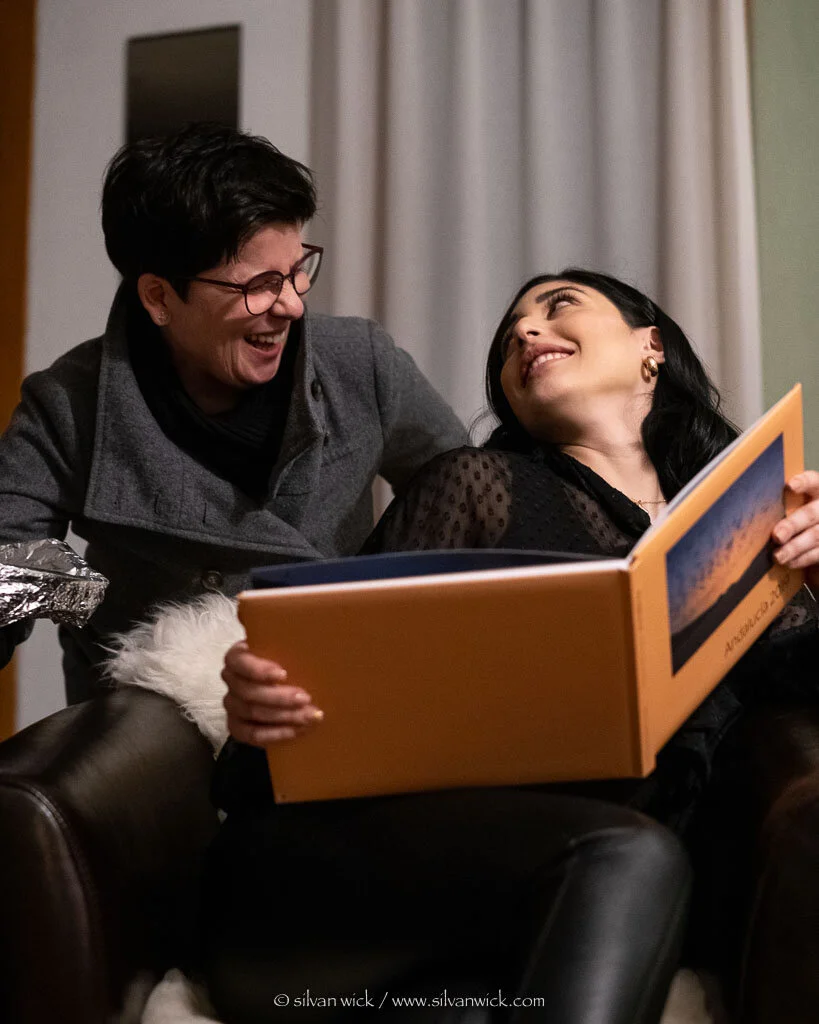
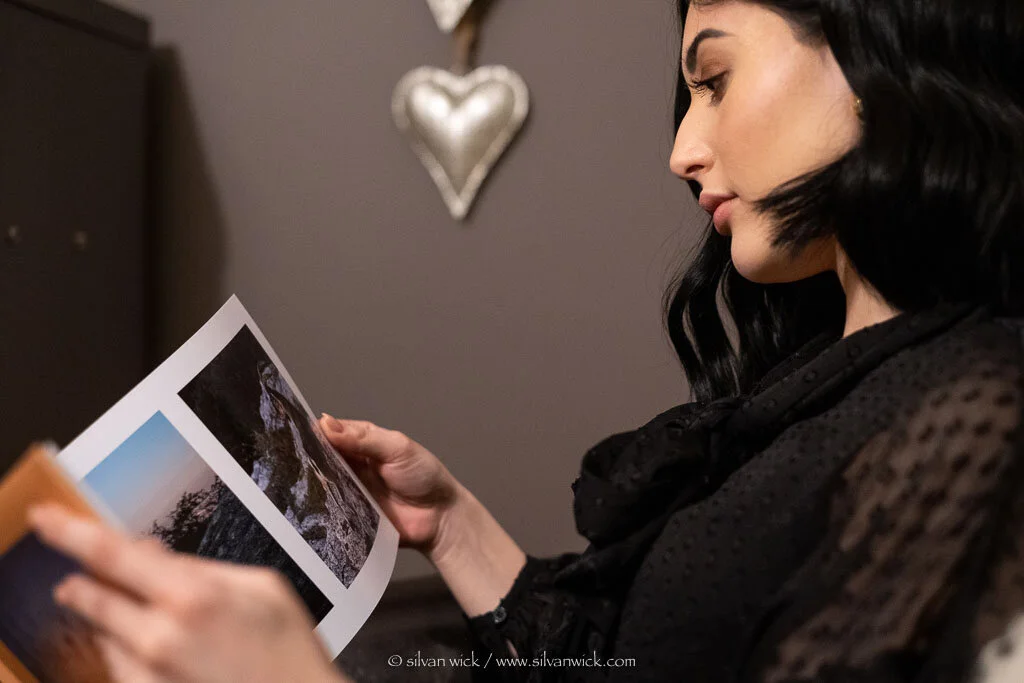
I have given most of the books away as presents, to family and friends. The feedback alone I am getting, is worth the effort. Also for myself, holding a finished product in hand, feels like the culmination of the actual picture taking/ creating process. I have taken one of the images to make a fine art print and again, there is a certain satisfaction that comes with seeing one of your prints framed and hanging on a wall, for all to see.
Maybe I wanted to prove to myself, that Instagram and Facebook, or other social media feeds, although extensively used by a majority of photographers, are not the only outlet for your creativity. Despite the far reaching possibilities that come with social media use, the images there are short lived and, replaced almost daily, by new feeds.
A print on a wall of a great image can be more impressive, sometimes size does matter. The book I created I hope, will be looked at by the person I have given it to again and again, maybe even inspire here or him to travel there and see for her/ him- self…
Resources:
To get here I researched online and found help from many. Let me warn you, the 2nd and 3rd link bring you to Youtube links that are in German. Nevertheless I list them as follows:
Color Management by Arnaud Frich:
Dennis Wilk, Photo book by Saal:
Inspired by Martina Bisaz: Bleibende Erinnerungen: Profi-Tipps für die Gestaltung eines Reisefotobuchs It all begins with an idea. Maybe you want to launch a business. Maybe you want to turn a hobby into something more. Or maybe you have a creative project to share with the world. Whatever it is, the way you tell your story online can make all the difference.
Don’t worry about sounding professional. Sound like you. There are over 1.5 billion websites out there, but your story is what’s going to separate this one from the rest. If you read the words back and don’t hear your own voice in your head, that’s a good sign you still have more work to do.
Be clear, be confident and don’t overthink it. The beauty of your story is that it’s going to continue to evolve and your site can evolve with it. Your goal should be to make it feel right for right now. Later will take care of itself. It always does.